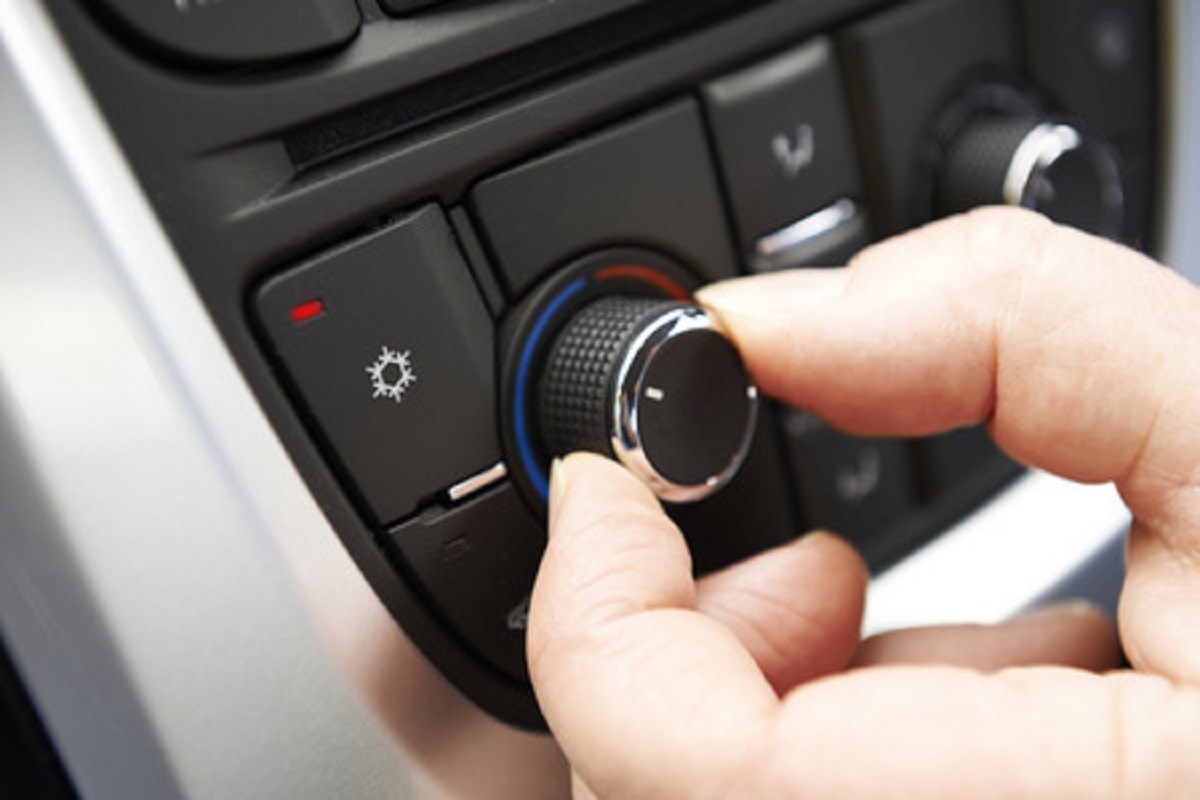
If your car’s air conditioning system (AC) starts losing power and therefore not cooling air, it’s likely time to recharge the AC. This means that you have to add more refrigerant into the car’s AC system, which allows the air to blow cold. While this does solve the problem temporarily, however, it should be noted that there may be a larger problem at hand. If the AC system is missing refrigerant, there’s likely a leak—a job which should be left to a mechanic. For those interested in learning to recharge an air conditioning system, consider the steps below:
How to Recharge Your Air Conditioning System
Since this procedure is so sensitive, you should use an AC recharge kit, as these kits have proven to be the safest and most effective option for non-mechanics. You will need an AC dispenser with a low side gauge and trigger, a meat thermometer, safety gloves and glasses, and 12-28 oz. of refrigerant, depending on your vehicle’s requirements (info can be found on underside of hood).
Warning: Always wear your safety glasses when working under the car hood. Do not get refrigerant on the skin—it freezes rapidly and will hurt a lot. Follow all the instructions that were included with the AC recharge kit, reading the canister’s warnings very carefully.
Step 1: Start the car and turn the AC up to high or max.
Step 2: Establish if your AC compressor is working or not. The AC compressor is driven by the accessory belt, which converts refrigerant from liquid into gas. The AC compressor has a clutch at its end, which should be spinning along with the accessory belt when the air conditioning is on max or high. See if these pulleys are moving: if the compressor’s clutch is engaging, it’s likely the system is simply low on refrigerant, but you should still test the pressure before you add any more.
If the compressor’s clutch isn’t engaging, your AC system is extremely low on refrigerant, has an electrical issue, or the AC compressor itself is failing. Add more refrigerant after testing pressure, as this can alert you to the cause.
Step 3: To test pressure, turn the car off and then find the low side pressure port—this is often found on the engine bay’s right side, with a grey or black cap with “L” on it.
Step 4: To attach your recharge kit’s hose, set the quick connect fitting (on the hose’s end) above the port, pushing down securely until it clicks into place. Do not pull the trigger right now—this will cause refrigerant from your AC system to release into the air.
Step 5: Restart your vehicle, with the air conditioner on its highest setting. Start monitoring the gauge by waiting for the AC compressor to move the clutch. Once the compressor engages, and the low side port’s pressure is below 40 psi, the AC system is verified as undercharged. The reading should be as close to 40 as possible.
Step 6: Now, wind the refrigerant can onto your recharge hose, so you can top off the AC system. Hold the can straight and then squeeze the trigger for about 5-10 seconds, adding refrigerant to the AC system. After releasing the trigger, check the pressure to ensure you aren’t overcharging. Get as close to 40 psi as you can.
Step 7: Move inside the car. Insert a thermometer inside one of the driver side AC vents by the wheel and check the temperature. Fully charged systems blow as cold as 28 degrees, but this can vary.
If the pressure reads over 40 psi, this is “high” low side pressure, which can be instigated by overcharging the AC system or if the AC compressor is faulty. If your pressure reads high, you likely need professional repairs.
As well, low refrigerant to begin with leaves little room for doubt about a system leak. These repairs are very specialized and require a professional for proper practice and procedures.
Think you or someone you know is in need of Behind the Wheel Training? Training Wheels is a Mays Landing driving school specializing in teaching new teen drivers how to stay safe on the road. For more information on our lessons, please click here.
Copyright: highwaystarz / 123RF Stock Photo

