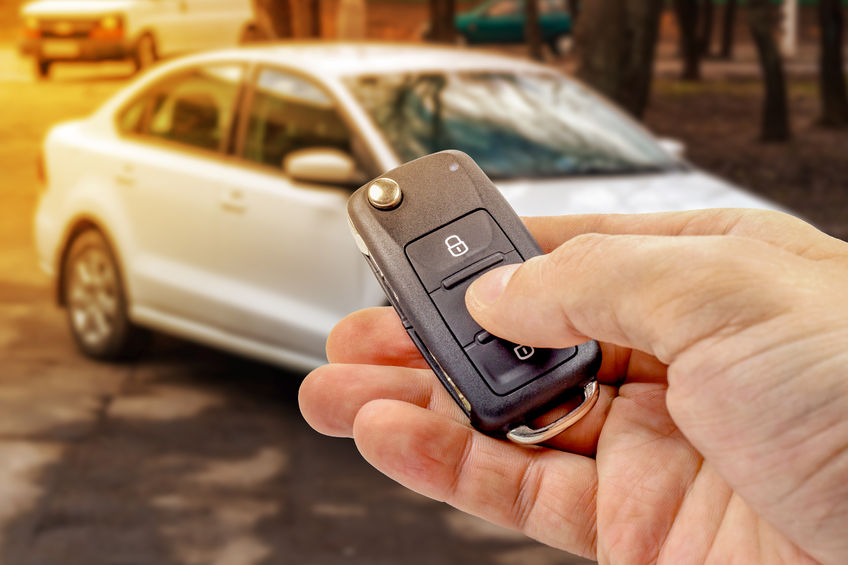
Imagine having the ability to turn your vehicle on, heat up the engine, and have the heater turned up to full-blast before even stepping outside—that is what it’s like to have a remote starter in your life. Such an addition may seem like too big of an upgrade to do by yourself, but with some quick know-how and the proper tools and parts, it’s possible to install a remote starter all on your own. Buying new cars with this feature built in or simply paying for a professional upgrade can be costly, but follow our quick guide and your current vehicle will be ready to go!
Choosing Your Remote Starter
While there are methods available for installing remote starters in manual transmission vehicles, the installation process is much easier for automatic transmission vehicles. However, before you set out to buy a new remote starter, you need to ensure it works with your car. Modern vehicles have a wide range of complex electrical equipment, which could impede whether you’re able to install a remote starter into your vehicle. With this in mind, read the starter’s application notes thoroughly. If the starter unit’s manufacturer clearly states the unit can work with your vehicle, you likely won’t have trouble installing the unit.
Supplies and Tools
For the actual installation, some remote starters come with all the supplies and tools you need whereas others may necessitate additional nuts, bolts, and electrical connectors. To complete your installation, you’ll need these items or possibly more:
- Heat shrink tubing
- Hand tools, such as sockets, ratchets, screwdrivers, and wrenches
- A solder, soldering iron, and flux (rosin core solders have the best results)
Rather than use a soldering iron, you could instead crimp the connections with a crimping tool and some butt connectors.
The Installation Process
The remote starter you purchase should have come with specific instructions, but if not, you can likely find them through a quick Google search. Before starting, make sure you have your vehicle’s manual on hand, and take the following steps:
- Read your starter unit’s instructions thoroughly. To install the unit, you have to locate certain wires on the vehicle’s wiring harness.
- Find the vehicle’s 12V constant wire, which you can do with a multimeter.
- Find the ignition wire, or the “key on” 12V power source, which only has voltage when the key in the ignition is turned.
- Now, read the starter unit’s instructions a second and third time if necessary.
- If the starter unit says to find wires in addition to the 12V constant and the “key on” power source, find them now, consulting your owner’s manual if need be.
- Develop a plan for attaching the starter unit’s wires to the right wires on the vehicle’s wiring harness, which should definitely not include lengthening the starter unit’s wires.
- Establish where you’ll be mounting the starter unit. Most installers place the unit beneath the dash and close to the steering column, but make sure you don’t mount the starter unit where it’ll be exposed to vibration or heat, such as within the engine compartment.
- Implement the plan you developed in step 6, connecting the wires and mounting the unit.
- Test the starter unit to make sure you’ve finished the installation correctly.
Troubleshooting
After installing the starter unit, make sure you test the unit—the vehicle’s engine should turn on just as fast as if a key were being used to do it. If the remote starter turns the starter sluggishly compared to the key, go back and double check your connections to make sure they’re not drawing any more power than they should be. If the remote starter doesn’t work in any way, go over all the electrical connections multiple times to ensure they’re connected properly to the wiring harness.
If you have a teen driver in the house in need of behind the wheel training, we can help! Training Wheels is a Ventnor driving school specializing in teaching new teen drivers the way of the road. For more information, please click here.
Copyright: fotokot197 / 123RF Stock Photo

