If you are driving your car and suddenly hear a loud, high pitch squeal upon pressing the brakes, it’s likely you have to swap out your brake pads for another set. This may seem like an impossible task for someone without experience as a mechanic, but changing weak or worn brake pads is actually pretty easy with the proper tools. If you think this is a task you would like to try, see the following steps to see what the process entails.
Lift the Car onto an Even Surface
The ideal even surface is a garage that has concrete flooring or a driveway. Using jack stands and your floor jack, raise and support the vehicle via the chassis, specifically the pinch weld. Be sure the jack stands are supporting the vehicle, and reposition them if the car moves when rocked. Note: Before you lift the car, loosen your lug nuts slightly without removing them, which should make unscrewing the lugs easier when the car is on stands.
Remove Lug Nuts, Then the Wheels
Spin the lugs off with either a star or impact wrench and then pull every wheel off the car. If you have big truck tires, be careful while removing them to protect your feet.
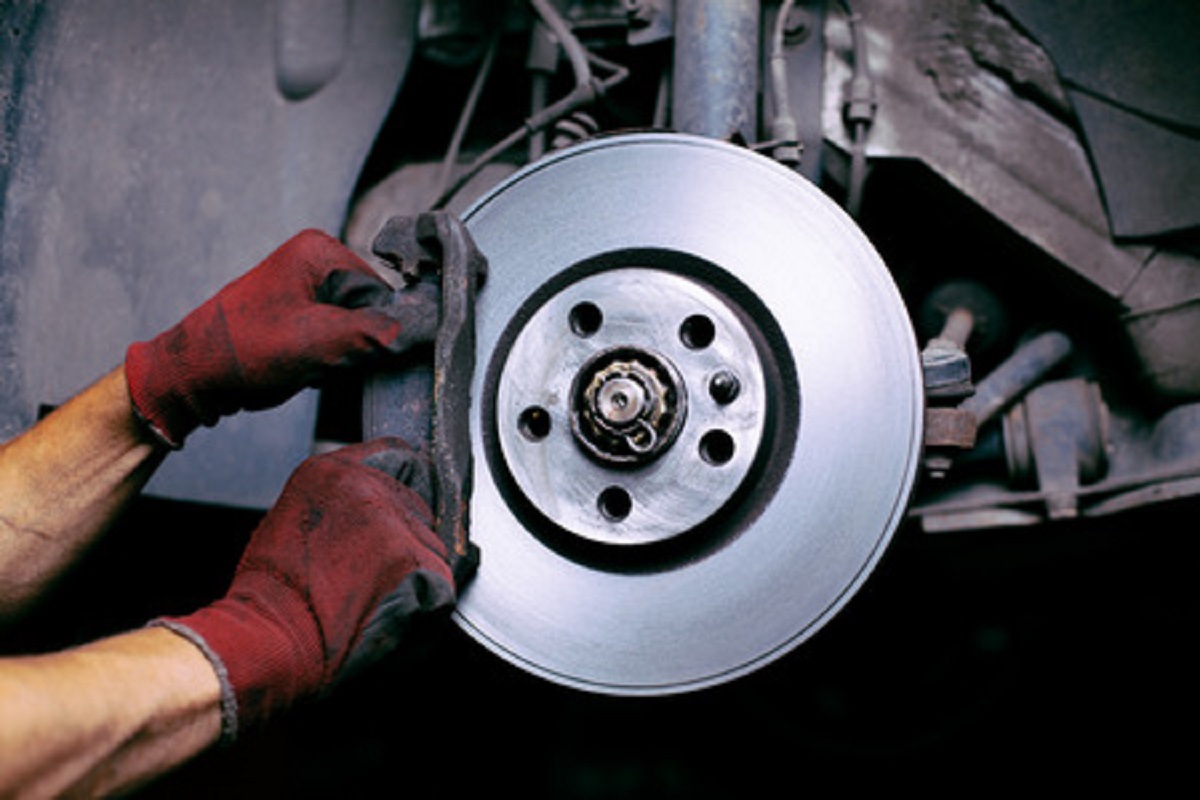
Inspect Brake Rotors
Should your brake rotors have a rough surface or deep grooves, consider getting new rotors as well.
Remove Caliper Hold-Down Pins
When the pins have been removed, slide the brake pads and caliper from the brake rotor.
Compress Caliper Pistons
Before you compress the caliper, examine the brake fluid reservoir to ensure it won’t brim over when fluid levels rise. Fluid may be removed using a baster, syringe, or by dipping a towel in. Using a caliper compressor, push or squeeze the pistons into the bores, which should allow enough room for fresh, thick brake pads. Note: If there’s enough room, try keeping the worn pads in to safeguard the pistons.
Remove Brake Pads
Take out the old pads, which should easily come out. Clean the areas of the brake caliper the pad directly touches with a wire brush.
Mount New Pads Within Brake Caliper
Smear anti-seize lubricant onto the brake pads’ sides, which should let the pads slide effortlessly as their surface deteriorates over time. Also, apply a slight coat of anti-squeak paste onto where the caliper pistons make contact directly with the pads’ backing. This reduces the likelihood of the pad oscillating during braking, thereby reducing or eliminating unwelcome brake noise. Clip or slide the brake pads into the caliper, touching the pads’ friction surface very little.
Grease Braking System
Smear a minor coat of high-temp brake grease onto the caliper guide pins as well as any portions of the caliper which slide against metal. Lubricate the caliper’s friction points, which should prevent squeaks and allow the brakes to evenly wear. Keep the rotors and the pads’ friction side clean as well as you can.
Reinstall Caliper Assembly
Now, slide the caliper and pad combination over the brake rotor. Secure the caliper into place using the hold-down pins you removed previously if they are still good or new ones if not.
Bleed the Brakes
Braking systems function best without air in the lines, so if bleeder screws were opened to compress the pistons, air may have gotten in. It’s best that you bleed those specific calipers, but you should let a professional do this if you’ve never done this before. Finally, check the brake fluid levels and, if necessary, refill.
Put Wheels On
Put the wheels back on, tightening each lug nut with your hand until snug. Using your floor jack, raise the car slightly and then take out your jack stands. Lower the vehicle to the ground carefully. Tighten every lug nut with a torque wrench to specification. To conclude, start the bed-in process for your brakes, which should have come with the fresh brake pads.
Think you or someone you know is in need of Behind the Wheel Training? Training Wheels is an Atlantic City driving school specializing in teaching new teen drivers how to stay safe on the road. For more information on our lessons, please click here.
Copyright: baranq / 123RF Stock Photo