An easy way to extend the life of your car’s tires is to rotate them—moving where each tire is located on your car. The reason this makes such a difference is that front and rear tires wear differently. Sixty percent of a car’s weight is carried by the front tires, making their tread wear down faster. Even turning can wear tires down at differing rates—Americans tend to take left turns faster than they do right turns, putting more on the right front tire and causing it to wear down faster. Such tendencies lead to uneven treads, but changing tires’ positions roughly every 5,000 miles (or even when you change your oil) keeps the wear patterns equal and ultimately saves car owners money.
What You’ll Need
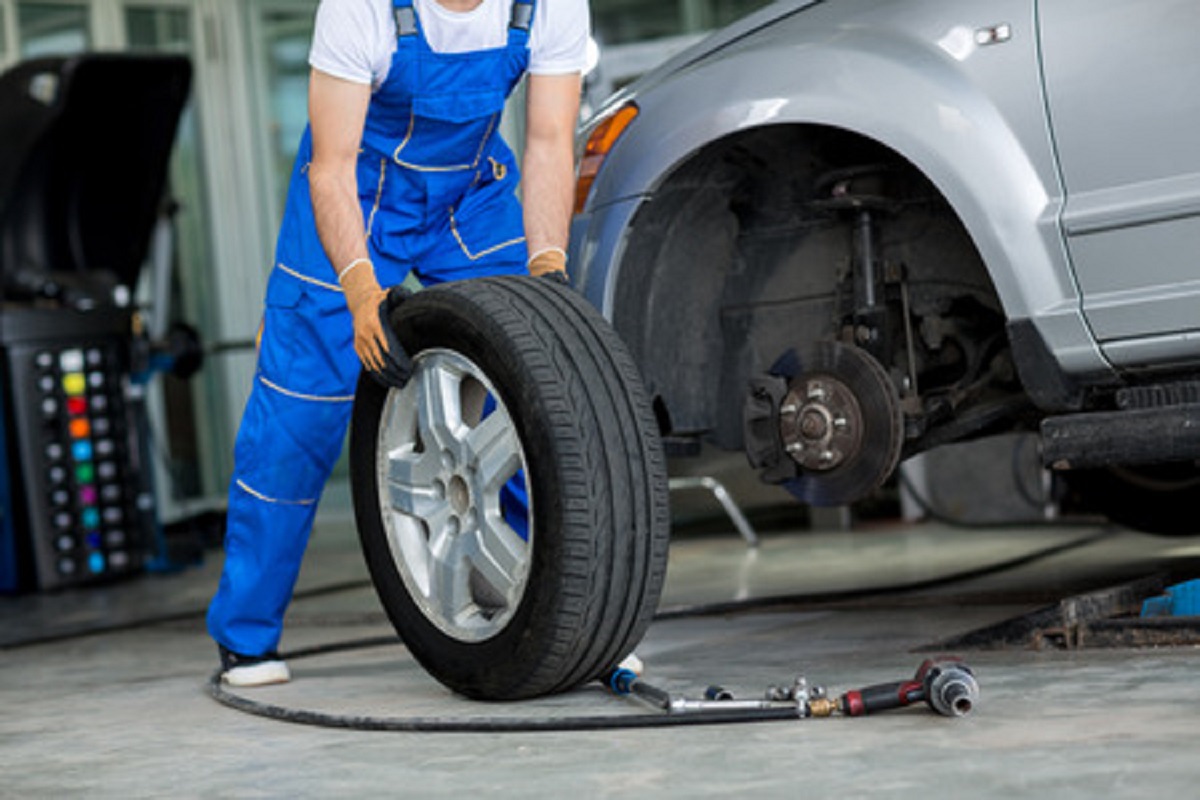
To rotate tires, all that’s needed is a car jack and jack stands. You can use the jack that comes with your vehicle, but it’s safer to use a hydraulic floor jack since standard jacks are often only used briefly to change a tire. You’ll also need jack stands to rest the car on top of while you switch out the tires.
Rotation Pattern
Before unscrewing anything, make sure you understand the rotation pattern of your vehicle’s tires, which can be either directional or non-directional. Directional tires have a one-way tread pattern that is enhanced for either the left or right side. The tire grooves are made to optimize handling and improve traction. There are often little arrows or triangles on the sidewall to tell you which way the tires are meant to turn. To rotate directional tires, switch the front right tire with the back-right tire and do the same for the left.
The tread patterns for non-directional tires are designed to allow the tire to be mounted for any direction, meaning it doesn’t matter if you switch sides. If you have front wheel drive, it may benefit to move the rear tires to the opposite sides in front. For rear wheel drive, move the rear tires forward on the same side and move the front tires to the back on opposite sides.
Steps for Rotating Tires
- Engage the parking brake.
- Loosen the lug nuts for all the wheels, but don’t take them completely off. Loosening them now just makes unscrewing easier when the car is elevated.
- Lift one wheel up with the car jack and place a jack stand under it. If you only have one or two jack stands, you’ll need to think before you start so you that know how to proceed when lowering and raising the car. Some people have placed their car on four jack stands, which is the faster option but not the safest.
- Remove the tires and rotate them based on the best pattern for your tires. When placing a tire back on the wheel mount, screw in the lug nuts by hand as much as you can.
- Lower the car from the jack stands and take a lug wrench to tighten the nuts even more. It’s best to work the lug nuts diagonally from one to another like a star pattern, as this ensures even tightening. Uneven tightening of the lug nuts can warp your brake rotor.
Think you or someone you know is in need of Behind the Wheel Training? Training Wheels is an Egg Harbor Township driving school specializing in teaching new teen drivers how to stay safe on the road. For more information on our lessons, please click here.
Copyright: antoniodiaz / 123RF Stock Photo